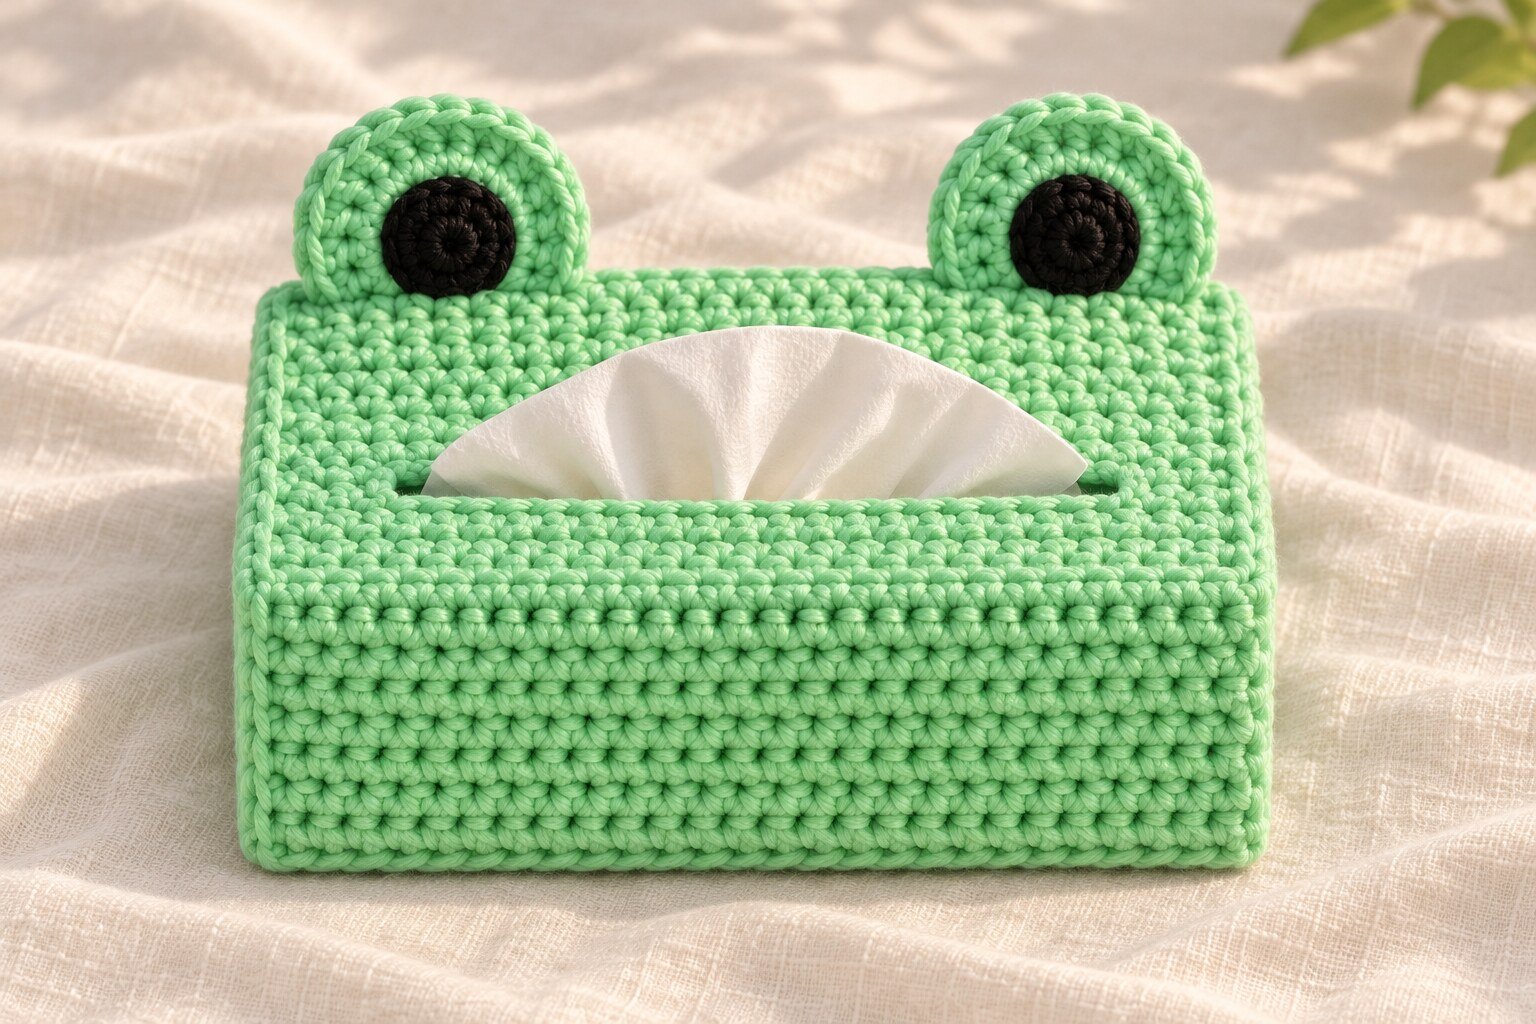
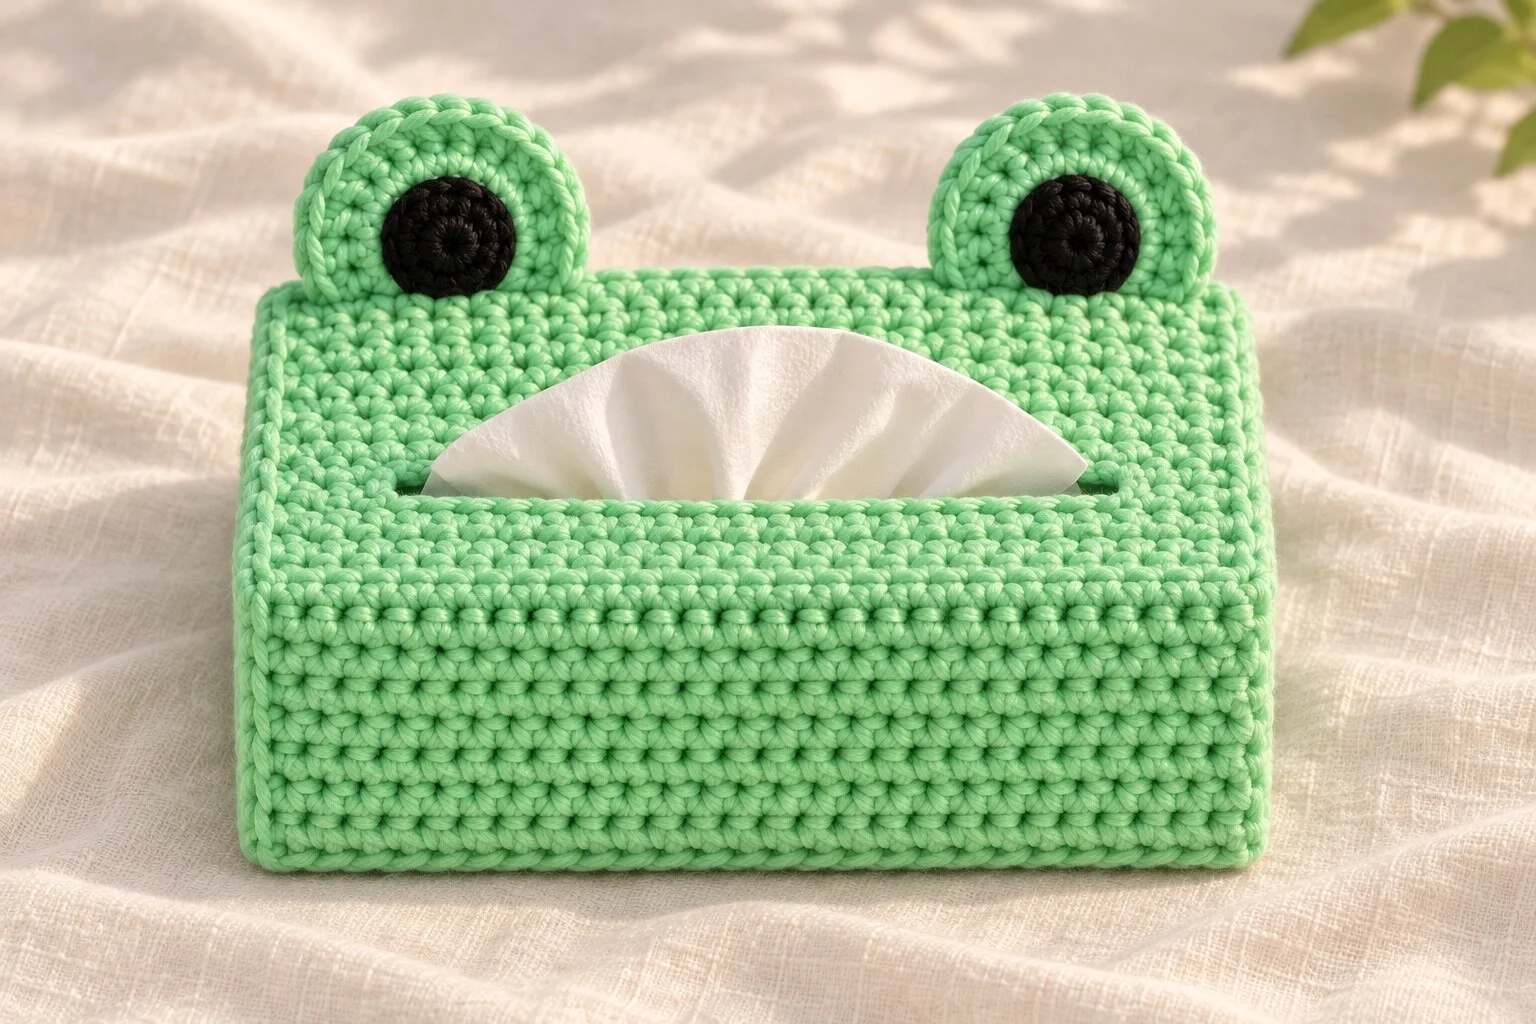
Give a rectangular tissue box two round eyes and a mint-green crochet jacket. The tissue slot becomes the frog’s mouth, and the open bottom lets you slide the cover off whenever you need to replace the box. The stitch counts below include a worked example and a way to resize it for your own box.
Pattern status. This original pattern was inspired by the supplied image and has yet to be test crocheted. All three pictures are AI-generated illustrations. The sample gauge and dimensions below demonstrate the sizing math. Measure your own swatch and box before starting.
Jump to the free crochet pattern ↓
Project Overview
| Detail | Pattern information |
|---|---|
| Skill level | Confident beginner comfortable with single crochet, joined rounds, and sewing small pieces |
| Terminology | US crochet terms |
| Construction | Rectangular top with a chain-bridge slot, straight side walls, open bottom, and two double-layer eye appliqués |
| Sizing | Adjust the stitch and row counts to your rectangular tissue box. The worked example uses a 17 × 9.5 × 7.5 cm box. |
Materials and Tools
- Worsted-weight cotton yarn in mint green, plus a small amount of black cotton yarn for the pupils.
- A 4 mm crochet hook as a starting point, four removable stitch markers, a blunt tapestry needle, scissors, and a tape measure.
- A rectangular tissue box to measure and try on as you work.
Single crochet should give you a firm fabric with enough flexibility to slide over the box. Make a swatch at least 12 cm wide and 12 cm tall. Let it relax, then count stitches and rows over the central 10 cm without stretching it. Use the same hook for the top and sides.
Measure the Box and Calculate Your Counts
Measure the length, width, and height at the widest points. Also check where the cardboard dispenser opening sits. The written pattern centers the slit, so rotate or reposition the cover during fitting if your box opening is slightly off-center.
| Count | How to calculate it | Worked example |
|---|---|---|
| Stitch and row gauge | Divide the counts in your 10 cm swatch by 10. | 18 sc and 20 rows per 10 cm gives 1.8 sc and 2 rows per cm. |
| N, stitches across the top | Multiply the box length plus about 0.5 cm by stitches per cm. Round to the nearest whole stitch. | 17.5 × 1.8 = 31.5, rounded to 32 sc. |
| M, rows across the top | Multiply the box width plus about 0.5 cm by rows per cm. Round to the nearest whole row. | 10 × 2 = 20 rows. |
| K, skipped stitches for the slot | Multiply the desired slot length by stitches per cm. Adjust to make N − K even. Leave at least four stitches on each end. | A slot of about 10 cm gives 18 stitches. That leaves 7 sc on either end. |
| Side depth | Multiply box height by rows per cm as a starting estimate. Check the actual depth as you crochet the rounds. | 7.5 × 2 gives about 15 wall rounds after the setup edging. |
Pick a slot length close to the exposed cardboard dispenser opening and test a tissue before finishing. The crochet should slide over the corners without bowing the cardboard. If your box is wider at the base, use that width for the top count and check the fit again after the first two wall rounds.
Abbreviations and Pattern Notes
| Abbreviation | Meaning |
|---|---|
| BLO | Back loop only |
| ch | Chain |
| inc | Work 2 sc in the same stitch |
| MR | Magic ring |
| sc | Single crochet |
| sl st | Slip stitch |
| st / sts | Stitch / stitches |
Turning and starting chains do not count as stitches. Join each side round to its first sc and work the next round without turning. Work the eyes in a continuous spiral, marking the first stitch of each round.
Free Frog Crochet Tissue Box Cover Pattern
1. Crochet the Top and Tissue Slot
With mint green, ch N + 1. In the example, ch 33. Row 1. Sc in the second ch from the hook and in each remaining ch. (N sc) Following plain rows. Ch 1, turn, and sc in each stitch. (N sc)
Slot row. Place the slot around the middle row of the top. For 20 rows, use Row 10. Ch 1 and turn. Sc in the first (N − K) ÷ 2 stitches, ch K loosely, skip K stitches, then sc in each remaining stitch. In the example, work 7 sc, ch 18, skip 18, and work 7 sc.
Row after the slot. Ch 1 and turn. Sc in each sc and work one sc into each chain across the bridge. (N sc) The opening runs between the bridge and the skipped stitches below it. Continue plain rows until you have M rows total. In the example, stop after Row 20.
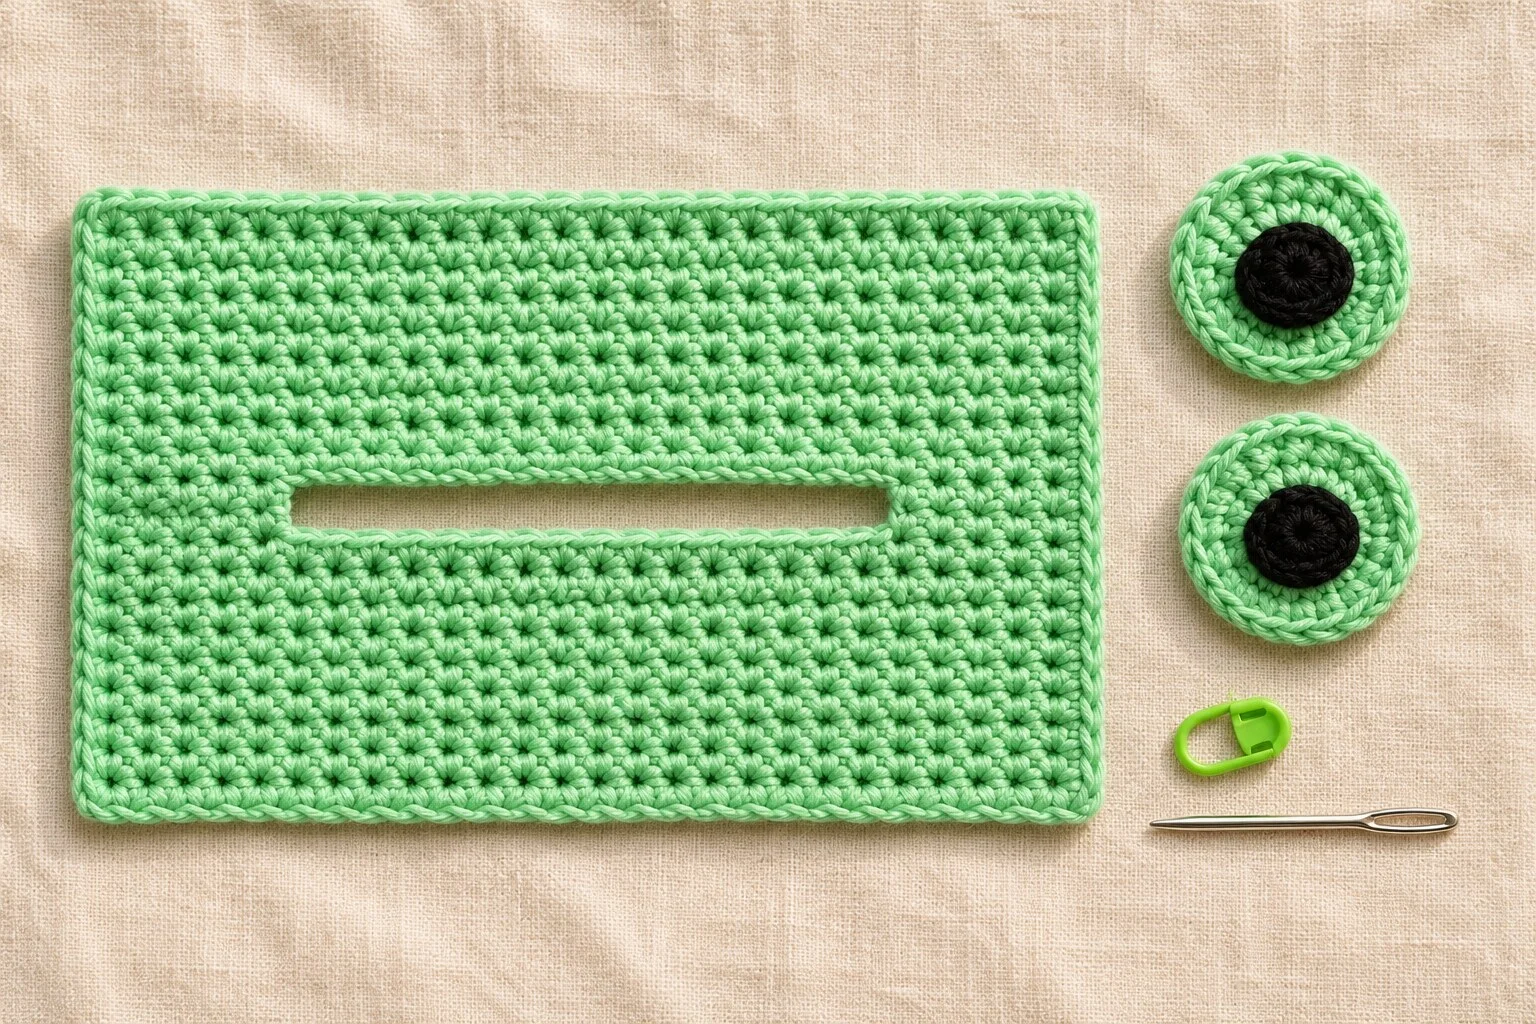
Lay the top over your box before starting the sides. Line up the slot with the dispenser and pull one tissue through. If the slot is tighter than you want, redo the slot row with a looser chain or two more chains and two more skipped stitches, taking one sc off each end.
2. Work the Side Walls
- Setup edging. Fasten off the top if needed and rejoin green at the first stitch of either long edge. Ch 1. Work N sc along that edge, M sc along the short edge, N sc across the opposite long edge, and M sc along the last short edge. On the foundation side, work into the unused foundation loops. On each short side, work one sc into the side bar of each row, including the first and last row ends. The long-edge loops and short-edge bars are separate insertion points. Do not add corner stitches. Join. (2N + 2M sc, or 104 sc in the example)
- Wall Round 1. Ch 1. Work one sc in BLO of each edging stitch. Join to the first sc. (Same count) The unworked front loops mark the fold between the top and sides.
- Wall Rounds 2 onward. Ch 1. Sc in both loops of each stitch and join. Keep the same count each round. Try the cover on after a few rounds, then continue until the edge reaches the bottom of the box without folding underneath it. Fasten off and weave in the ends.
Mark the first stitch of each setup edge if it helps you check the corners. For a cleaner bottom edge, work the last round with even tension and use a yarn needle to make an invisible join if you know that finish. Leave the bottom open.
3. Crochet Two Upright Frog Eyes
Green discs, make four. With mint green, work 6 sc in MR. (6) Work 2 sc in each st. (12) Work [sc in the next st, inc in the next st] six times. (18) Fasten off. Leave a long tail on two discs for sewing.
Black pupils, make two. With black, work 6 sc in MR and join with a sl st to the first sc. Pull the ring closed and leave a sewing tail. For the slightly larger pupil look, crochet one extra round with an inc in each st (12 sc) and use it only if it leaves a clear green border.
Sew each black pupil just below the center of one green disc. Place a plain green disc behind it, wrong sides together. Whipstitch corresponding edge stitches together and keep the disc flat. Repeat for the other eye.
4. Attach the Eyes and Fit the Cover
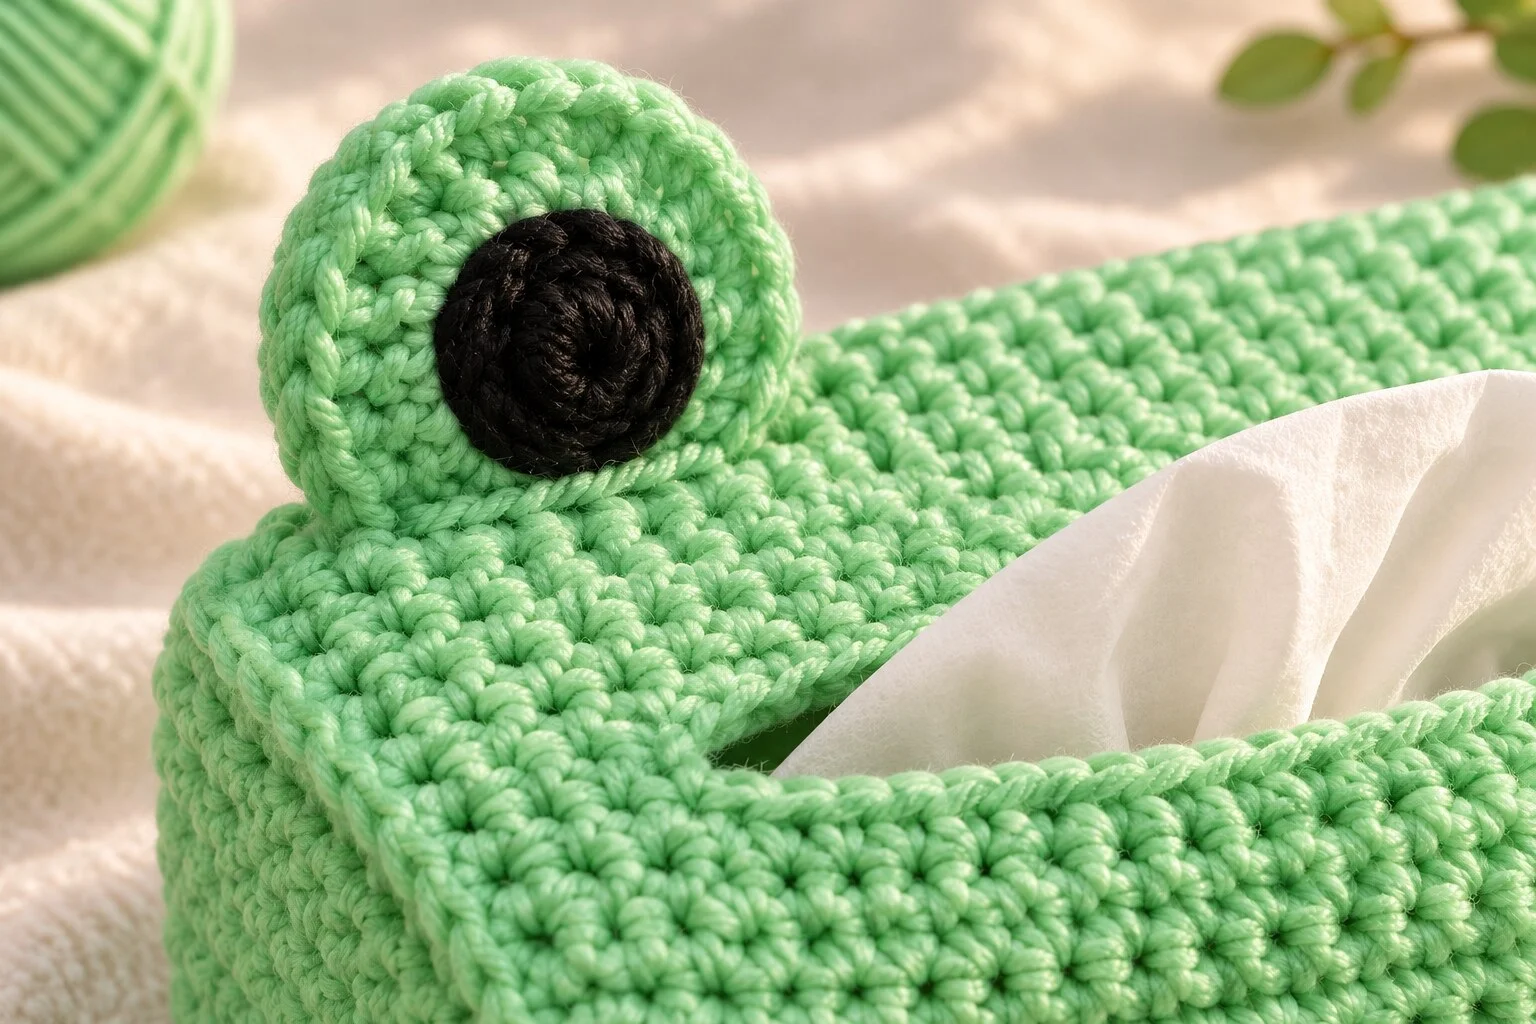
- Slip the cover onto the box and choose which long edge is the back. Position both eyes behind the slot, near the back corners. Leave about two stitches between each base and the edge as a starting point.
- Pin the eyes at the same height, then take the cover off the box. Sew the lower edge of each eye through several adjacent top stitches. Add a second short row of anchoring stitches just behind the first so the discs can stand upright. Keep the needle clear of the tissue slot.
- Weave the yarn ends into the fabric, put the cover back on, and test a tissue. Move the cover slightly until the slot lines up with the opening underneath.
Troubleshooting
| If you notice | Try this |
|---|---|
| The top curves around the slot | The bridge chain may be tighter than the surrounding sc. Redo it more loosely before adding the walls. |
| The setup edging ripples | Count N stitches along each long edge and M along each short edge. Keep extra stitches out of the corners. |
| The sleeve catches on the box | Check the width near the base. If the first wall rounds are already tight, redo the top with a little more ease. |
| The eyes lean forward | Add a few stitches behind each eye base to widen the anchor. Keep both bases equally far from the slot. |
Variations and Care
Try sage or yellow-green cotton for the body, or use a darker green around the eye edges. For a cube tissue box, use the same sizing method with equal measured length and width, and work more wall rounds if needed. Remove the cardboard box before cleaning. Follow the yarn label and reshape the cover as it dries flat.
Frequently Asked Questions
Does the cover have a bottom panel?
No. It slips over the cardboard box from the top. Lift it off to replace an empty box.
Can I embroider the pupils instead?
Yes. Fill a small circle in black on each front green disc before sewing the two eye layers together.
How do I adjust the slot for a different box brand?
Measure the exposed dispenser opening, choose K from your gauge, and make N − K even so the slot stays centered. Test a tissue before crocheting the side walls.