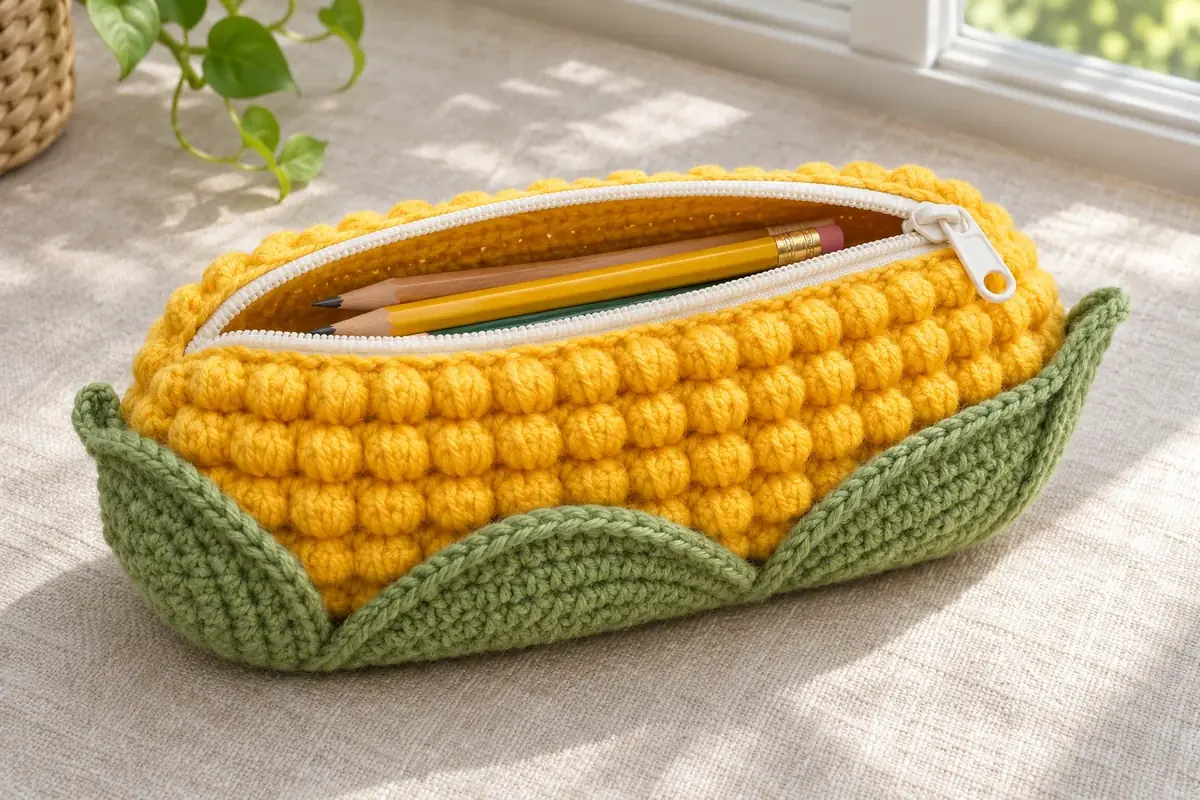
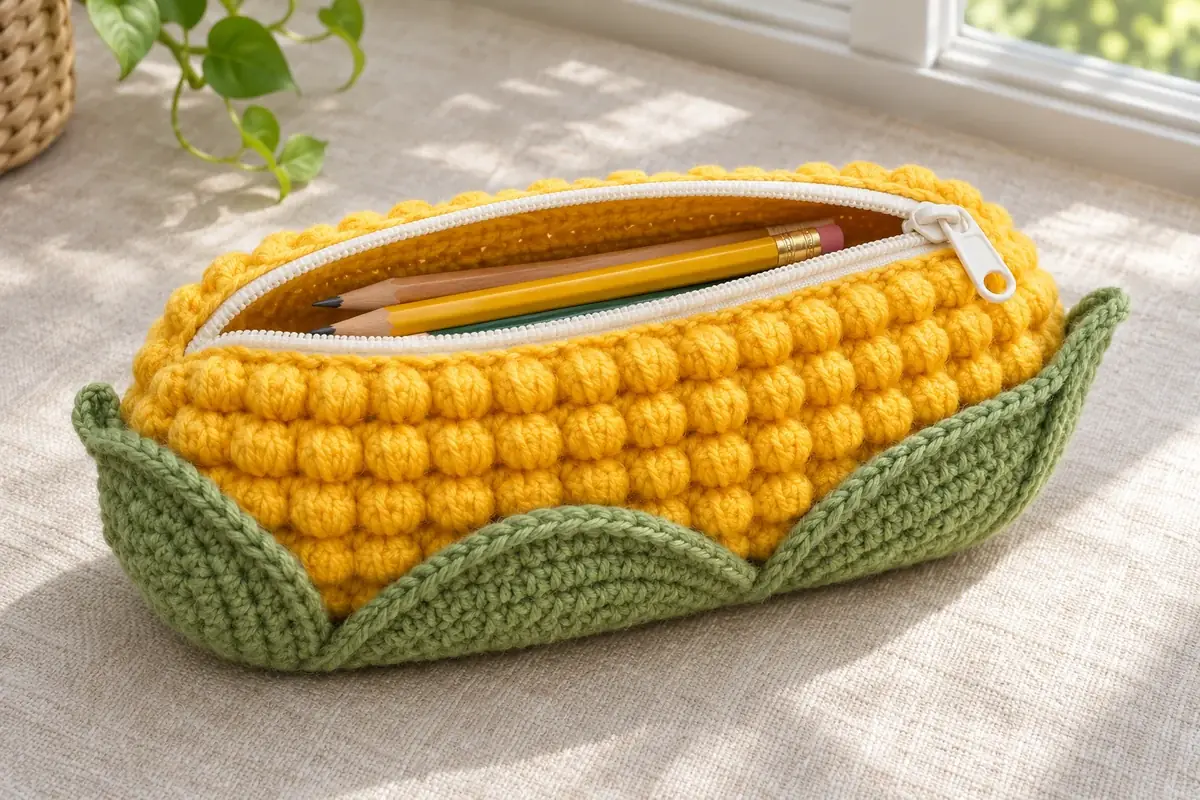
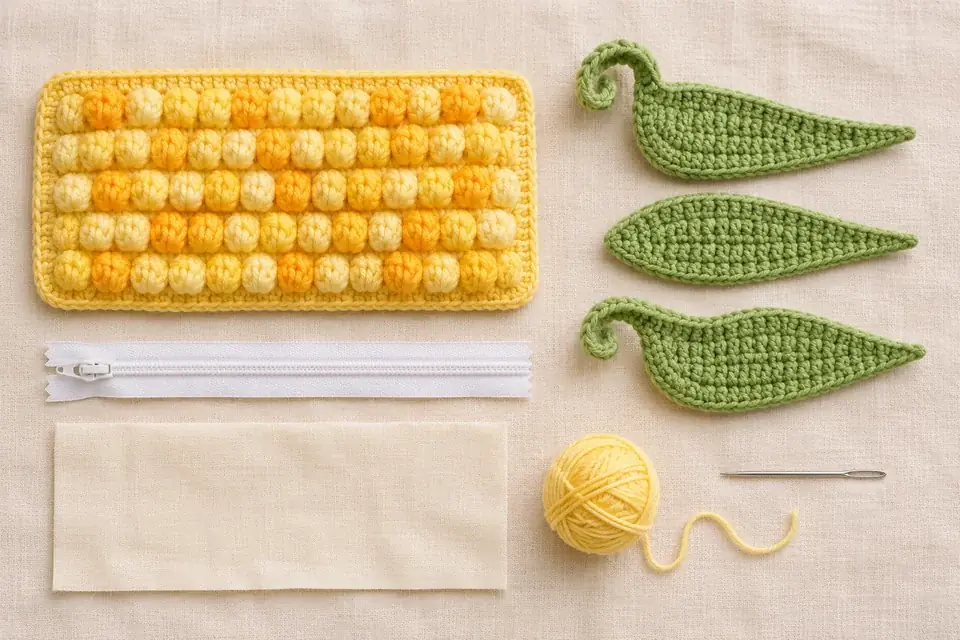
A yellow bobble stitch panel turns a simple zip pouch into a cheerful ear of corn. Green leaves wrap around one end, while a fabric lining keeps pen tips from catching in the crochet. This corn pencil case pattern uses one flat rectangle for the body and three separately crocheted leaves.
Pattern status: Original draft inspired by the supplied reference image; not test crocheted. Dimensions and yarn quantities are planning estimates. Make a swatch and check the fit before sewing. The AI-generated illustrations show design ideas, not verified results or exact step photographs.
Project overview
| Skill level | Intermediate: bobbles, shaping and hand sewing |
|---|---|
| Terminology | US crochet terms |
| Construction | Flat rectangle, lengthwise zipper, sewn end seams; separate leaves and lining |
| Planned size | About 20 cm long with a 14–16 cm body circumference, excluding leaves; adjust to your stationery |
| Method | Turned rows; no stuffing |
Materials and tools
| Material | Suggested starting amount or size |
|---|---|
| DK cotton yarn, yellow | Allow 70–100 g; bobbles consume extra yarn |
| DK cotton yarn, sage green | Allow 20–30 g |
| Hook | 3 mm to start; adjust for a firm but flexible fabric |
| Nylon coil zipper | Choose after measuring the panel; approximately 18–20 cm teeth length |
| Woven cotton lining | A piece approximately 25 × 20 cm; cut to actual measurements |
| Tools | Yarn needle, fine sewing needle, matching sewing thread, scissors, clips and tape measure |
Use smooth yarn so the zipper can move freely. If you change yarn weight, resize the panel by measurement rather than keeping the same stitch count. Yarn amounts have not been measured from a finished sample.
Gauge and sizing before you begin
There is no verified sample gauge for this draft. Make a swatch using the body repeat and measure it without stretching. Choose an odd stitch count that gives a panel length approximately 2 cm longer than the desired usable interior. The 41-stitch example below is a starting count, not a guaranteed size.
For a planned 20 cm interior, aim for a panel about 22 cm long; the two short end seams use about 1 cm each. Work enough rows for a 14–16 cm circumference. Place your longest pencil along the panel before proceeding. The two long edges become the zipper opening; the two short edges become the closed ends.
Abbreviations and special stitches
- ch: chain
- sc: single crochet
- dc: double crochet
- sl st: slip stitch
- inc: 2 sc in one stitch
- sc2tog: single crochet two stitches together
- RS / WS: right side / wrong side
Bobble: Yarn over, insert hook in the indicated stitch, yarn over and pull up a loop, yarn over and draw through two loops. Repeat that unfinished dc four more times in the same stitch. With six loops on the hook, yarn over and draw through all six. The complete bobble counts as one stitch. Do not add a closing chain; the following sc anchors it. Push the bobble toward the RS if needed.
Ch 1 to turn at the start of each row unless stated otherwise. This turning chain never counts as a stitch. Keep the same number of stitches on every body row.
Free crochet corn pencil case pattern
1. Crochet the yellow body panel
- Foundation: Ch 42 in yellow, or an even number of chains that will give your chosen odd stitch count.
- Row 1 (RS): Sc in the second chain from the hook and in each remaining chain. Turn. 41 sc.
- Row 2 (WS): Ch 1, sc in every stitch. Turn. 41 sc.
- Row 3 (RS): Ch 1, sc in the first stitch; repeat [bobble in the next stitch, sc in the next stitch] 20 times. Turn. 41 stitches: 20 bobbles and 21 sc.
- Row 4 (WS): Ch 1, sc in every stitch, including the top of each bobble. Turn. 41 sc.
- Repeat Rows 3–4 until the panel is about two plain rows short of your desired circumference. Measure across the rows, not along the foundation chain.
- Work two more rows of sc, keeping 41 stitches on each row. Fasten off and weave in the ends.
For any other odd stitch count N, the bobble row is: sc once, then [bobble, sc] repeated (N − 1) ÷ 2 times. Never work a sc into the same stitch as a bobble. For a two-tone corn effect, change between pale and golden yellow at row ends, keeping all bobbles on the RS.
2. Make three green husk leaves
These simple flat leaves are worked from a narrow base toward a pointed tip. The reference-inspired curled edges in the illustrations are decorative variations; the instructions below make straight pointed leaves.
- Foundation: Ch 3 in green.
- Row 1: Sc in second chain from hook and next chain. 2 stitches.
- Row 2: Ch 1, turn, inc in both stitches. 4 stitches.
- Row 3: Ch 1, turn, inc, sc in next 2, inc. 6 stitches.
- Row 4: Ch 1, turn, inc, sc in next 4, inc. 8 stitches.
- Rows 5–10: Ch 1, turn, sc in each stitch. 8 stitches per row. Add straight rows here if a longer leaf is needed.
- Row 11: Ch 1, turn, sc2tog, sc in next 4, sc2tog. 6 stitches.
- Row 12: Ch 1, turn, sc2tog, sc in next 2, sc2tog. 4 stitches.
- Row 13: Ch 1, turn, sc2tog twice. 2 stitches.
- Row 14: Ch 1, turn, sc2tog. 1 stitch. Fasten off, leaving a sewing tail.
Lay the first leaf against the pouch before making the others. It should reach roughly halfway up the body from the chosen base end. Adjust the straight section for length. A loose embroidered line down the center can suggest a leaf vein without pulling the fabric tight.
3. Attach the zipper
- Lay the panel RS up with its two long edges horizontal. Position one zipper tape behind the foundation edge, with teeth clear of the crochet.
- Center the zipper along that edge. Aim for its stops to sit just inside the future end seams. Use a suitable-length zipper; do not cut through a metal stop.
- Clip the crochet to the tape and hand sew using small backstitches and matching sewing thread. Leave about 5–7 mm clearance between yarn and teeth.
- Bring the opposite long edge around to the other zipper tape, forming a tube. Check that the bobbles face outward, then sew the second side without stretching either edge.
- Open and close the zipper several times. Reposition the seam now if yarn catches or the tape ripples.
4. Close and gently shape the ends
Open the zipper halfway so you can turn the pouch. Turn the shell inside out and flatten each short end with the zipper centered. Sew across each end approximately 1 cm from its raw edge, securing the zipper tape ends without sewing across teeth. Use a slightly curved seam at the corners for a softer silhouette. Turn RS out and check that the longest pencil fits.
This construction makes a soft corn-inspired zip pouch rather than an exact sculpted replica of the reference. Avoid gathering the ends tightly: a small opening can make pencils difficult to insert and reduces usable length.
5. Add a fabric lining
- Measure the finished usable interior length L and the interior circumference C with a flexible tape.
- Cut one lining rectangle measuring (L + 2 cm) × (C + 2 cm). Its long edges run along the zipper.
- Fold the fabric right sides together, bringing those two long edges together. Sew the two short side edges with 1 cm seam allowances; leave the long opening unsewn.
- Fold the raw opening edges 1 cm toward the fabric wrong side. Keep the lining wrong side out and insert it into the crochet shell, so seam allowances face the crochet and the neat fabric side faces the contents.
- Clip the folded edges to the underside of the zipper tapes. Hand stitch them in place, keeping all stitches and fabric clear of the teeth.
Check the lining with a few pens before completing the last stitches. It should rest inside without stretching the shell or bunching around the zipper stops. Do not use a lining so tight that it carries all the strain when the pouch is filled.
6. Attach the husks and optional loop
Choose one closed end as the corn base. Pin the narrow starting ends of all three leaves around it, letting their points face toward the opposite end. Spread one over the back and one along each side. Keep the zipper opening unobstructed. Sew each leaf base securely to the outer crochet only, then tack a short section of its side in place so the leaf cannot flop into the zipper. Leave the tips free.
For an optional hanging loop, ch 25 in yellow and sl st in the second chain and each remaining chain: 24 sl st. Fasten off and sew both ends together at the corn base with several passes. This loop is decorative and is not intended to carry heavy contents.
Finishing checks
- Weave in yarn tails before securing the lining completely.
- Check that leaf stitches do not catch the lining or obstruct the slider.
- Run the zipper from end to end with the pouch empty and then lightly filled.
- Inspect both end seams for gaps and reinforce loose stitches.
Troubleshooting
| Problem | Adjustment |
|---|---|
| Bobbles sit on the inside | Push them toward the RS and confirm all bobble rows are worked on the same face. |
| Body becomes wider or narrower | Count the bobble tops as one stitch each; the turning chain is not a stitch. |
| Zipper waves | Unpick and resew without stretching the crochet; check tape length against the panel. |
| Pens catch in stitches | Add or repair the woven lining and keep sharp points capped. |
| Leaves hide the opening | Move the leaves toward the back or shorten their straight sections. |
Variations
Use a single buttery yellow for a quieter look, or alternate pale and golden yellow bobble rows. A shorter foundation makes a compact notions pouch; always choose the zipper after measuring. For a wider case, add more body repeat rows and enlarge the lining circumference to match. Keep the same leaf count or reposition the leaves after pinning to suit your finished proportions.
Care tips
Follow the yarn and fabric care labels. Spot clean when possible. If all materials permit hand washing, use cool water and mild detergent, reshape gently and air dry with the zipper open. Do not iron directly on bobbles or a plastic zipper. Empty the case and dry the lining completely before storing it.
Frequently asked questions
Is this suitable for a complete beginner?
The body repeat is short, but bobbles, leaf shaping and zipper sewing require several skills. Practice a small swatch and a zipper seam on scrap fabric first.
Can I leave out the lining?
A lining is strongly recommended for stationery because points can slip between crochet stitches. It also supports the zipper area and helps the shell keep its shape.
Will mine look exactly like the pictures?
No exact match is promised. The images are AI-generated concepts and the pattern has not been test crocheted. Your yarn, gauge and assembly choices will affect the result.
How do I change the length?
Use a different odd body stitch count and keep the same two-stitch bobble repeat. Allow for both end seams, check your actual pencil length and select a matching zipper.
Has this pattern been physically tested?
No. It is a draft from visual inspiration. Stitch arithmetic has been reviewed, but fit, material quantities and assembly need a physical sample before they can be verified.